Installation Instructions for Ram Cummins 6.7L Stealth Module (2007.5-2012 Non-DEF)
Included With Purchase
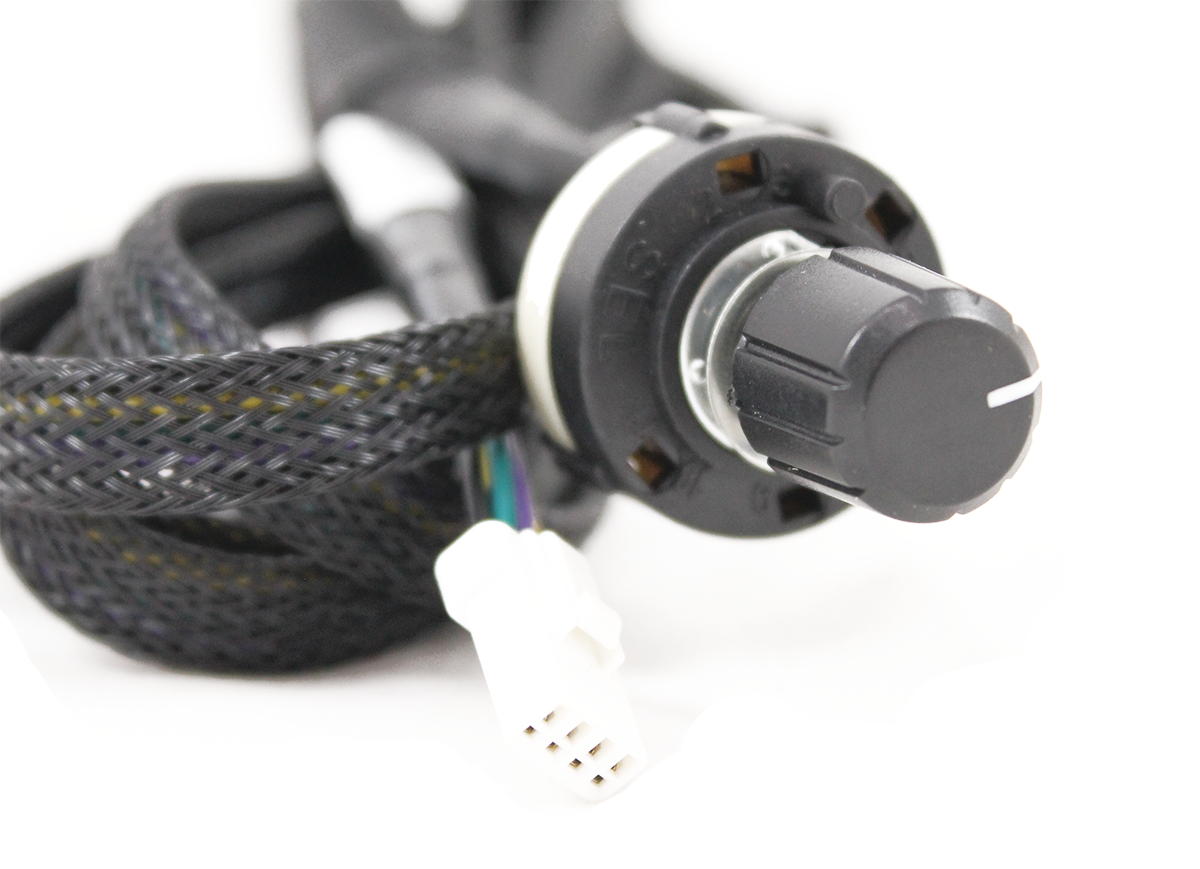
| (1x) Stealth Module |
| (1x) Wire Harness with Fuel Rail Sensor Connections |
| (1x) Selector Switch |
Video Installation
Step by Step Instructions
Let your truck sit with the hood popped, doors shut and the key fob away from the vehicle for at least 20 minutes. It is important to keep the key fob away and the doors shut during the entire installation process. DO NOT bring the key fob near the vehicle or open any doors until AFTER the module is fully installed and connections are verified. This allows the computer to 'sleep' and for your engine compartment to cool down. Failure to do so will result in a check engine light on startup.
|
Step 1: Locate the fuel pressure sensor. It is located on the back of the fuel rail on the driver's side. |
|
Step 2: Disconnect plug from the fuel sensor. Plug male connector of module's fuel sensor plug into the truck's female connector. Next, plug female end of the modules sensor. Make sure the white arrow points to where the clip connects. |
|
Step 3: Push each connection firmly to ensure complete connection. |
|
Step 4: Mount module away from the hot and/or moving parts. Zip ties are provided. Note: If you are having difficulty with the fuel pressure sensor plug on your fuel rail, practice plugging the harness plugs into themselves to get a feel for how the plug operates and locks. |

|
Step 5: Fuel Pressure Relief Valve Shim Kit Installation. WARNING: Be sure the truck has been turned off for over 15 minutes, the fuel rail contains high-pressure fuel and if ample time is not given to let the fuel pressure bleed off, serious injury or damage to the vehicle can occur. Please wear the proper protective equipment when removing the FPRV valve. (safety glasses, gloves) |