Installation Instructions for Chevy/GMC Duramax LB7 6.6L Stealth Module (2001-2004)

Included With Purchase

(1x) Stealth Module
(1x) Wire Harness with Fuel Rail Sensor Connections
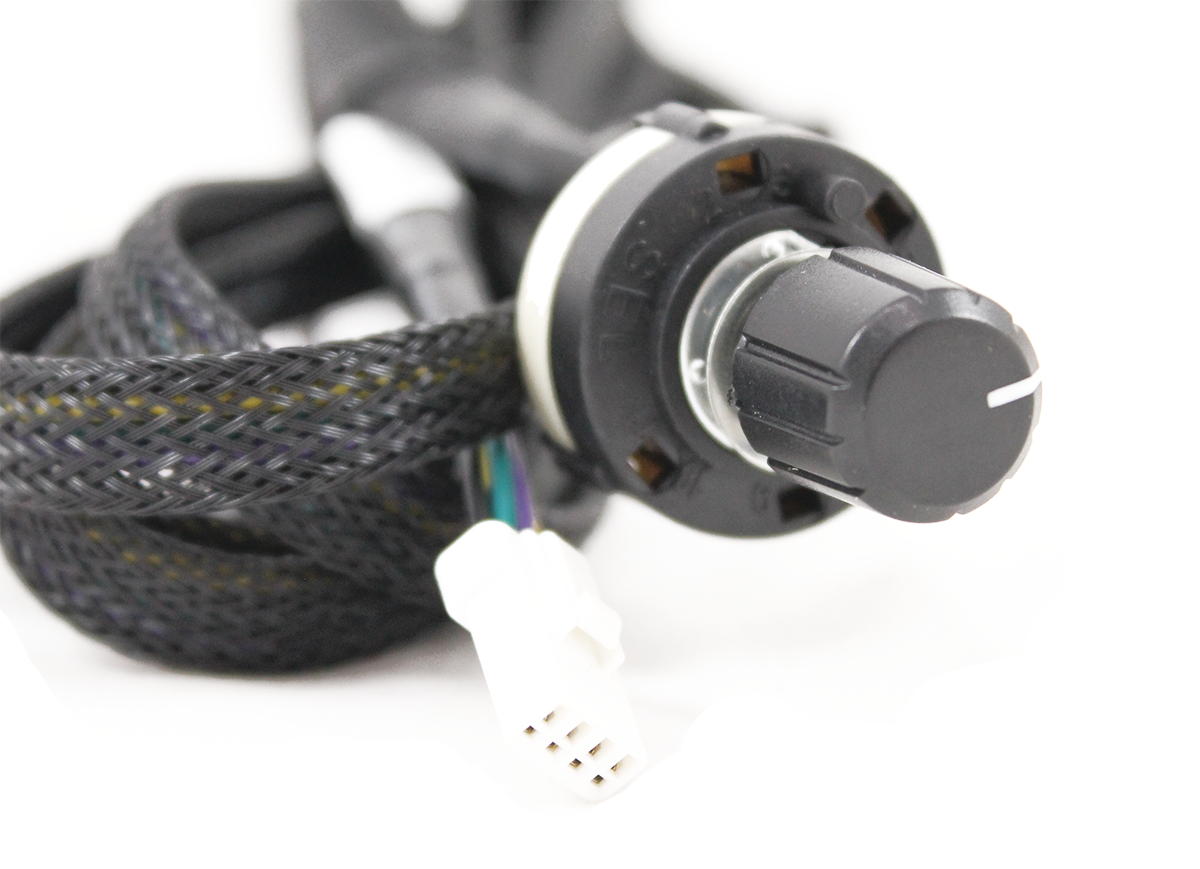
(1x) Selector Switch


Module

Module


Step by Step Instructions

Let your truck sit with the hood popped, doors shut and the key fob away from the vehicle for at least 20 minutes. It is important to keep the key fob away and the doors shut during the entire installation process. DO NOT bring the key fob near the vehicle or open any doors until AFTER the  module is fully installed and connections are verified. This allows the computer to 'sleep' and for your engine compartment to cool down. Failure to do so will result in a check engine light on startup.

Step 1:

Locate the fuel pressure sensor on the fuel rail. It’s found below the boost tube pipe near the center of the engine. Removing large plastic intake resonator can make it easier gaining access.

Sensor Connections


Sensor Connections

Step 2:

Disconnect the fuel pressure sensor from the factory plug. Install the female fuel pressure plug to the truck’s fuel pressure sensor. Plug in the male connector to the engine’s female connector.

Sensor Connections


Sensor Connections

 Step 3:

Install the 4-position switch on the module’s harness. It can be mounted inside the cab for easy access or most often, left under the hood near the module.

 Step 4:

Ensure all connections are tight - all plugs should be snap closed when installed properly. Gently tug on all connections to make sure they are secure especially the fuel pressure plug.

The module and switch must be installed away from heat and moving parts.

Turn Dial Clockwise

Stock - Low - Medium - High


Low - Low traction.
This setting has the least performance gain

Medium - Normal driving.
This setting has mid level performance gains

High - Fastest acceleration and max torque.
This setting is great for open highway cruising, high demand, and burning rubber

The switch must remain plugged in to stay in the desired setting. You can run the switch into the cab or leave it tied up under the hood. Leave in one setting as much as possible and do not switch power levels while pressing the accelerator.

Everyone has different driving preferences. It's suggested that you try each setting for at least a week to see what you prefer.

Check Engine Light or Hard start on Install?

The most common reason for a check engine light on install is due to the truck not being asleep. If the Stealth Module has already been removed, please start the installation process over while giving special attention to the instructions above step 1. If the Stealth Module is still installed, verify connections and disconnect the negative terminals on your battery for a hard reset. Events that will wake the truck up: Not letting it sit for 15 minutes, opening/closing the vehicle door, having the key near the truck during install.

The most common reason for a hard start on install is due to improver connection. Please verify that all connections are straight and pushed in all the way. Be sure the harness is pushed in tight to the Stealth Module as well.

If you are still having trouble, please give our 24/7 tech support a call at (888) 613-4304

Remove the Stealth Module Before Service

Before going in for service, please remove the Stealth Module so that the truck is back to stock. This allows the technician to have a fresh base line when performing any work.