Installation Instructions for Chevy/GMC Duramax LM2/LZO 3.0L Stealth Module (2019-2026)
Included With Purchase
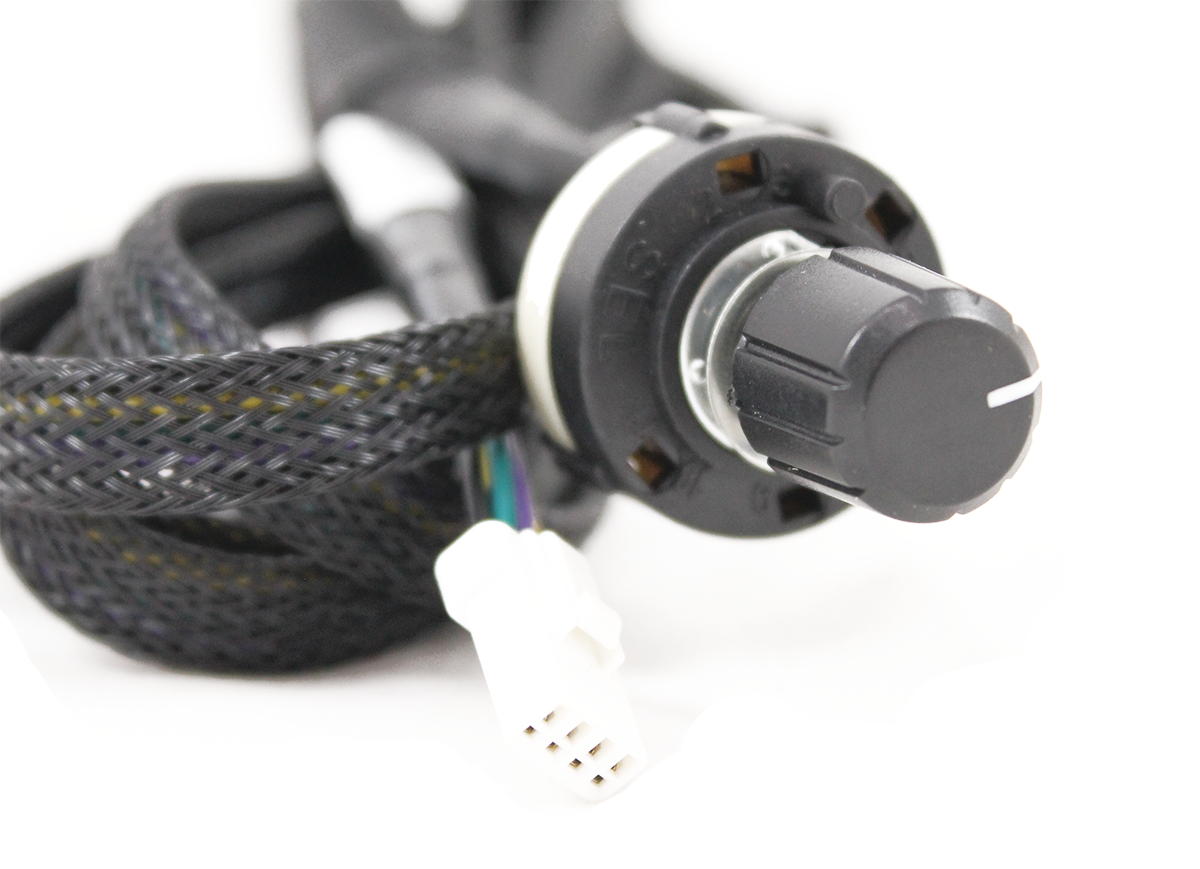
| (1x) Stealth Module |
| (1x) Wire Harness with Fuel Rail Sensor and MAP Connections |
| (1x) Selector Switch |
Video Installation
There is some variation between the trucks and SUVs. If you have any questions, please call our 24/7 tech line!
Step by Step Instructions
Let your truck sit with the hood popped, doors shut and the key fob away from the vehicle for at least 20 minutes. It is important to keep the key fob away and the doors shut during the entire installation process. DO NOT bring the key fob near the vehicle or open any doors until AFTER the module is fully installed and connections are verified. This allows the computer to 'sleep' and for your engine compartment to cool down. Failure to do so will result in a check engine light on startup.
|
Step 1: First step is to remove the engine cover for better access. Remove one 10mm bolt and the oil cap to lift cover off. REPLACE OIL CAP so nothing drops in the open oil fill hole. |


|
Step 2: The fuel pressure sensor is located directly under the intake plenum towards the front of the engine. Slide the white locking tab away from the sensor. Pinch the tab on the connector and pull the connectors apart. |

|
Step 3: Plug one end of the Stealth Harness into the connection you just removed and the corresponding pigtail into the sensor connection. |
|
Step 4: Remove the rubber intake hose from the air filter housing. You can also remove the top of the air filter housing and even the coolant reservoir for better access if necessary. |


|
Step 5: Unlock the map sensor connector by pulling the white (LM2) or red (LZO) locking tab away from the sensor. Squeeze the tab on the connector as you pull the connector away from the sensor. Plug the Stealth harness into the sensor and the corresponding pigtail into the connector you removed. |

|
Step 6: Route the wires towards the air filter housing and plug in the grey main connector into the Stealth Module. Ensure that the grey main connector is securely fastened with both clips engaged into the Module. There is space next to the air filter housing that the Module can be tucked in securely. Plug in the selector switch. |